Windows CMake Quick-Start Guide
Overview
This document describes how to set up your environment and compile NAI’s Software Support Kit (SSK) 2.x to target NAI hardware over ethernet.
Environment Setup
CMake (Windows)
CMake 3.22.1 or later must be installed to build the Windows SSK. Building CMake for Windows will generate all necessary Visual Studio project files and an nai_ssk.sln file.
Using a command window:
- cd into the ssk2/build directory
- run the following command to configure all projects:
cmake -G "Visual Studio 17 2022" -S ../ -B . -D passedArg="D"
Note
To generate project files for a different version of Visual Studio, enter a different generator name (e.g. Visual Studio 15 2017). Use cmake —help to explore configuration options.
The nai_ssk.sln file now exists in the build directory of the SSK and can be opened in the Visual Studio version targeted in the prior step.
Building and Running a Project
Building and Running Sample Applications (Windows)
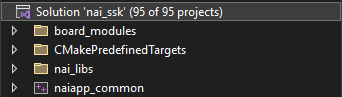
After opening the nai_ssk.sln file in Visual Studio, you should see the following contents in the solution explorer:
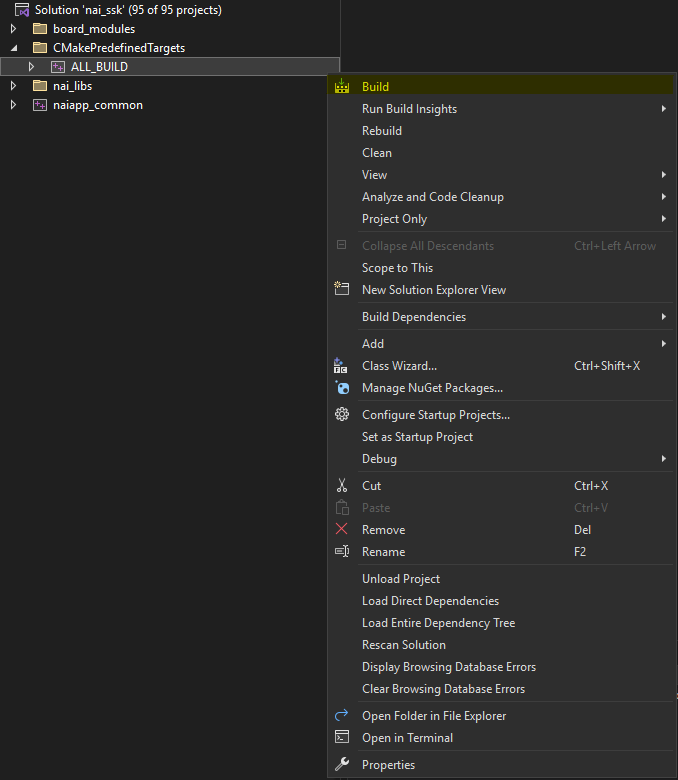
- To build all libraries and sample applications, expand the CmakePredefinedTargets folder. Right-click on ALL_BUILD and select Build. All sample applications are now ready for execution.
Creating Projects from Scratch (Windows)
The CMake build process allows for users to create and add new projects to the SSK with minimal configuration. A new project can be created, integrated into the solution file, and linked to all required NAI libraries through two main steps:
- Adding a CMakeLists.txt file to the project
- Rebuilding the nai_ssk.sln file
-
To start, navigate to the base/nai_sample_apps/naiapp_src/board_modules directory in File Explorer. This path contains the source code for all sample applications.
-
For this example, we are going to create a new DSW sample application. Enter the dsw folder and create a new folder named dsw_interrupt_basic.
-
Enter dsw_interrupt_basic and create another new folder in here named src. This is where you will place your new source file, mimicking the structure of other sample projects.
-
If you compare your new project to other sample projects such as dsw_basic_ops, you will see that they all have a CMakeLists.txt file in the same directory as their source folder. Copy this file from dsw_basic_ops into the same location of your project and open it in a text editor.
-
Inside this file, you’ll find that it specifies the project name, some include directories inside the SSK, some link libraries, and an executable name. Other directories or new libraries can be linked here, but for now, replace every instance of the name dsw_basic_ops in the new file with dsw_interrupt_basic. The contents of the file should now look similar to the following:
CMAKE_MINIMUM_REQUIRED(VERSION 3.8.2)

#CMAKE_POLICY(SET CMP0037 OLD)
PROJECT(dsw_interrupt_basic)

INCLUDE_DIRECTORIES (../../../../../ ../../../../../nai_bsp ../../../../../nai_libs/naibrd/include/ ../../../../../nai_libs/naibrd/src/include_local/ ../../../../naiapp_common/include/)

FILE (GLOB_RECURSE APP_SRC "*.h" "*.c")

SORTPROJECTFILES()

ADD_EXECUTABLE(dsw_interrupt_basic ${APP_SRC} ${COMMON_SRC})
TARGET_LINK_LIBRARIES(dsw_interrupt_basic naiapp_common naibrd)
SET_TARGET_PROPERTIES(dsw_interrupt_basic PROPERTIES FOLDER board_modules/dsw)
Once you’ve placed your C/C++ code in the src folder, your project is now ready to build. However, if you reload the solution file, you will see that the new project is still missing from the dsw directory in the Solution Explorer. This is because the contents of your new CMakeLists.txt file has not yet been read and integrated into the ALL_BUILD.vcxproj file. To update this file, you will rebuild the nai_ssk.sln file like you did in Environment Setup.
-
In a command window, navigate once more to the SSK’s build folder.
-
Run the following command, entering the Visual Studio version of your choice:
cmake -G "Visual Studio 17 2022" -S ../ -B . -D passedArg="D"
- Open the newly-built solution file in Visual Studio. You should now see that your new project can be found in the Solution Explorer, and building the SSK with ALL_BUILD will now include your project.
Running a Sample App in Visual Studio (Windows)
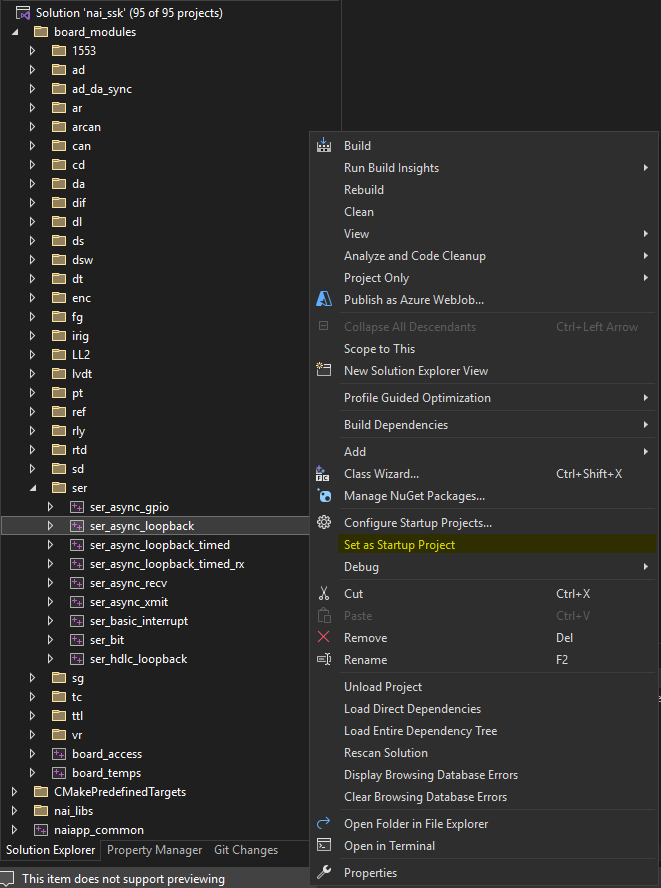
- Once all sample applications have been built successfully, they can now be ran from within Visual Studio. From the board_modules folder, select a module family that is included in your hardware. Right-click on a sample application and select Set as Startup Project.
- The sample application that you’ve chosen is now configured to run. Select the Local Windows Debugger or Start without Debugging button and a new window will open with the running application. The Windows Library Software Support Kit can be used to run applications that target NAI hardware over ethernet from a Windows host.